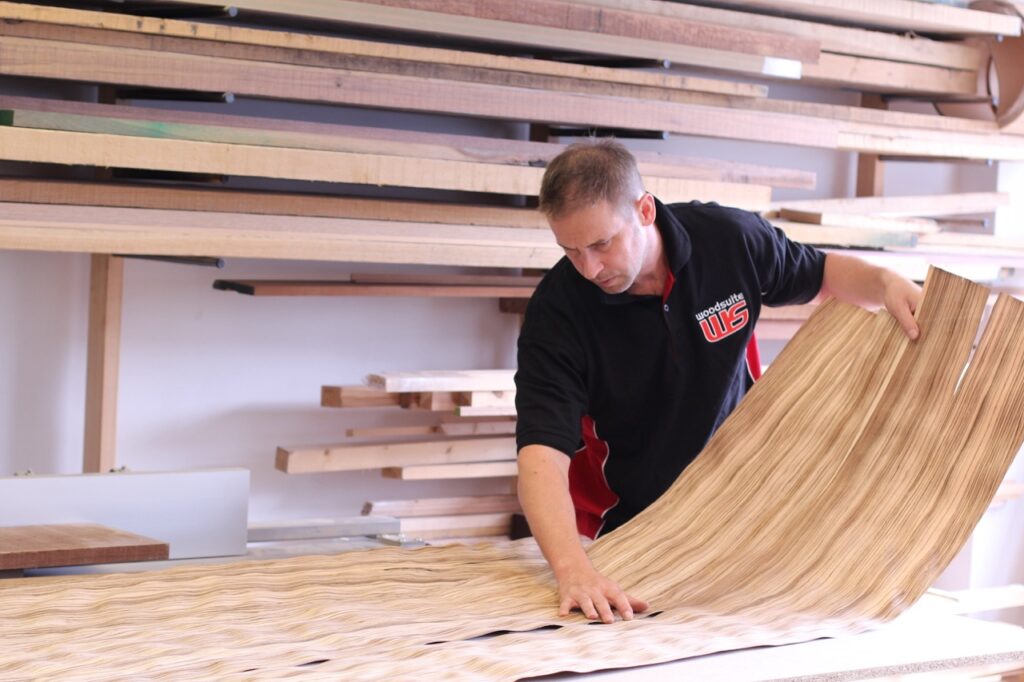
In today’s blog, I would like to discuss the topic of high-gloss spray painting. I often encounter questions such as, “Are glossy furniture pieces still trendy?” “Do they fit into my interior design?” And the classic inquiry, “Why is it so expensive?” Well, dear readers, in this article, I aim to briefly present the process of painting MDF, as each material—whether it’s wood or veneer—requires a different technique. The choice of color also plays a significant role; darker colors can be particularly challenging throughout this process. Today, we will focus on painted MDF, so let’s get started!
Step 1: Preparing the Surface
The journey to achieving that stunning high-gloss finish begins with preparation. The first step is to select high-quality MDF. This choice is crucial, as it sets the foundation for a smooth and flawless finish. Once the material is chosen, we meticulously sand the surfaces to eliminate any imperfections. This initial sanding is essential; it helps the paint adhere better, ensuring a long-lasting and beautiful result.
Step 2: Cleaning the Surface
After sanding, we thoroughly clean the surfaces to remove dust and debris. A clean surface is vital; any leftover particles can mar the sleek look of the final product. This preparation phase, though time-consuming, lays the groundwork for a successful paint job, which is something we prioritize.
Step 3: Applying the Primer
Next comes the application of primer, which serves multiple purposes. It enhances adhesion, provides a uniform base for the paint, and helps prevent the MDF from absorbing too much moisture from the paint, which can lead to swelling or warping. The primer needs to dry completely before we move on to the next step, which can take several hours depending on the conditions.
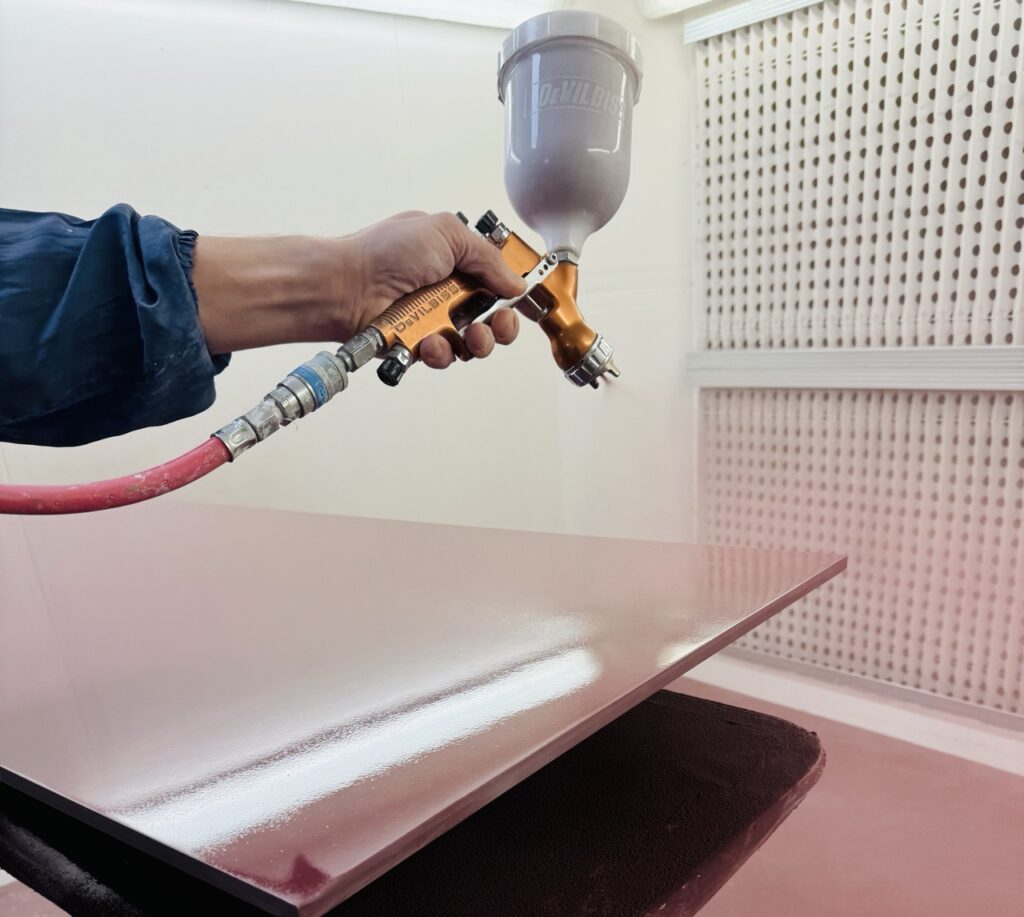
Step 4: The Art of Spray Painting
Once the primer is fully dry, the real artistry begins. High-gloss spray painting requires precise technique and a lot of patience. We carefully apply multiple thin coats of paint instead of one thick coat. This approach minimizes the chances of drips and uneven surfaces, which can be particularly noticeable with high-gloss finishes.
Each coat of paint must dry thoroughly before the next one is applied. This drying time can vary based on factors such as humidity and temperature, often extending the overall timeline of the project. It’s not uncommon for a high-gloss finish to require three to five coats, each meticulously applied to achieve that mirror-like sheen.
Step 5: Final Touches and Curing
After the final coat of paint is applied, we allow the furniture to cure fully. Curing can take several days, depending on the type of paint used. This step is crucial, as it ensures maximum durability and a hard, glossy finish that will stand the test of time. Rushing this process can lead to a finish that chips or dulls prematurely!
Once the curing process is complete, our team inspects the furniture for any imperfections that may have occurred during the painting process. If necessary, we will sand and repaint any areas that do not meet our high standards before delivering the finished product to you.
Why the Time Investment is Worth It
While the time-consuming nature of high-gloss spray painting MDF furniture may seem daunting, the results speak for themselves. The rich, reflective finish not only enhances the visual appeal of your furniture but also adds a layer of protection against daily wear and tear.
Remember, great things take time, and the stunning outcome of your bespoke furniture will be well worth the wait!